Step-by-Step Guide to Changing the Leaf Spring Bushings on Your Peterbilt
12/24/20242 min read
Introduction
Maintaining your Peterbilt truck in optimum condition is essential for its longevity and performance. One of the critical components that often require attention is the leaf spring bushing. Over time, these bushings can wear out, leading to less efficient handling and potential safety issues. This guide provides a thorough changing procedure for leaf spring bushings on your Peterbilt, ensuring your vehicle remains in top shape.
Tools and Materials Required
Before starting the changing procedure, gather the necessary tools and materials. You will require:
Jack and jack stands
Wrench set
Hammer
Socket set
Leaf spring bushings (specific to your Peterbilt model)
Grease
Safety goggles and gloves
Having the right tools at hand will make the process smoother and safer.
Step-by-Step Changing Procedure
Follow these steps to effectively change the leaf spring bushing:
1. Preparing the Vehicle
Firstly, park your Peterbilt on a flat and stable surface. Engage the parking brake and use wheel chocks to prevent the vehicle from rolling while you work. Next, lift the rear of the truck using a jack and position jack stands securely under the frame to support the weight of the vehicle.
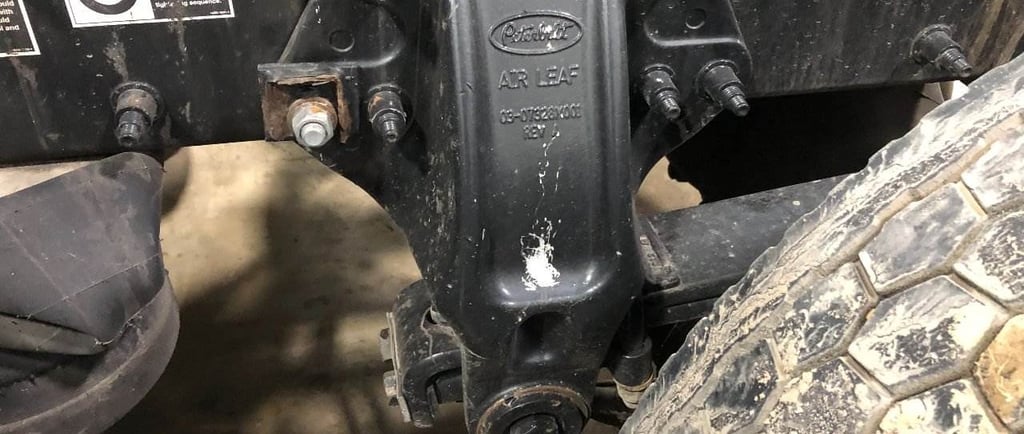
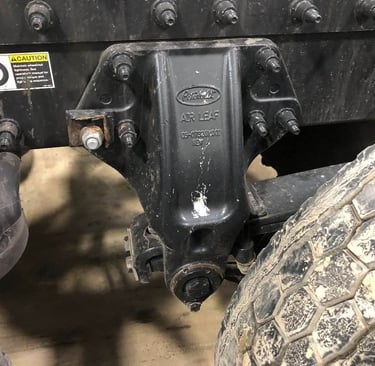
2. Removing the Old Leaf Spring Bushings
Begin by locating the leaf springs on your truck. You'll need to remove the mounting bolts using the appropriate socket size. It’s advisable to apply penetrating oil to the bolts if they are rusted for easier removal. Once the bolts are detached, take the leaf spring assembly off. Next, using a hammer, gently tap out the old bushings from the leaf springs. If they're stubborn, you may need a bushing removal tool for assistance.
3. Installing New Bushings
After removing the old bushings, take your new leaf spring bushings and apply some grease to them to ease the installation process. Position the new bushings in the leaf spring eye and ensure they are aligned properly. Use a bushing installation tool or simply press them in using a vice for a snug fit.
4. Reassembling the Leaf Springs
With the new bushings securely installed, position the leaf spring assembly back into its original placement beneath the vehicle. Reinsert the mounting bolts and tighten them according to your manufacturer’s specifications. It is essential to follow the correct torque settings to avoid any issues later.
5. Final Checks
Lastly, remove the jack stands and lower the truck using the jack. Once it's back on the ground, perform a final check of your work. Inspect for any unusual sounds or movement while testing the suspension by bouncing the rear gently. Make sure everything is properly secured.
Support
Ask questions and share truck repair tips.
Connect
© 2025. All rights reserved.